
DIY Iron-On Sweatshirt
I LOVE wearing big comfy sweatshirts around the house when I’m working or crafting, and today I’m going to walk through how I made this sweatshirt!

What You Need:
Sweatshirt or crewneck (I used this one)
Heat transfer or iron-on vinyl (I used Poli-tape HTV)
Cricut or craft cutting machine
Cricut cutting mat and weeding tools
Ironing board or Cricut EasyPress mat
Cricut EasyPress or regular iron
STEP 1: Create Your Design in Cricut Design Space
To add text in Design Space, click the “Text” button in the lefthand ribbon. I used the font “Close to My Heart- You Are Here” and typed out “THIS IS MY CRAFTING SWEATSHIRT”.

Next, I added some crafting tool images to make the design pop a little more. To find the weeding tool and scissor image, click “Images”, search for “Cricut machine”, and scroll until you find an image you want to use!
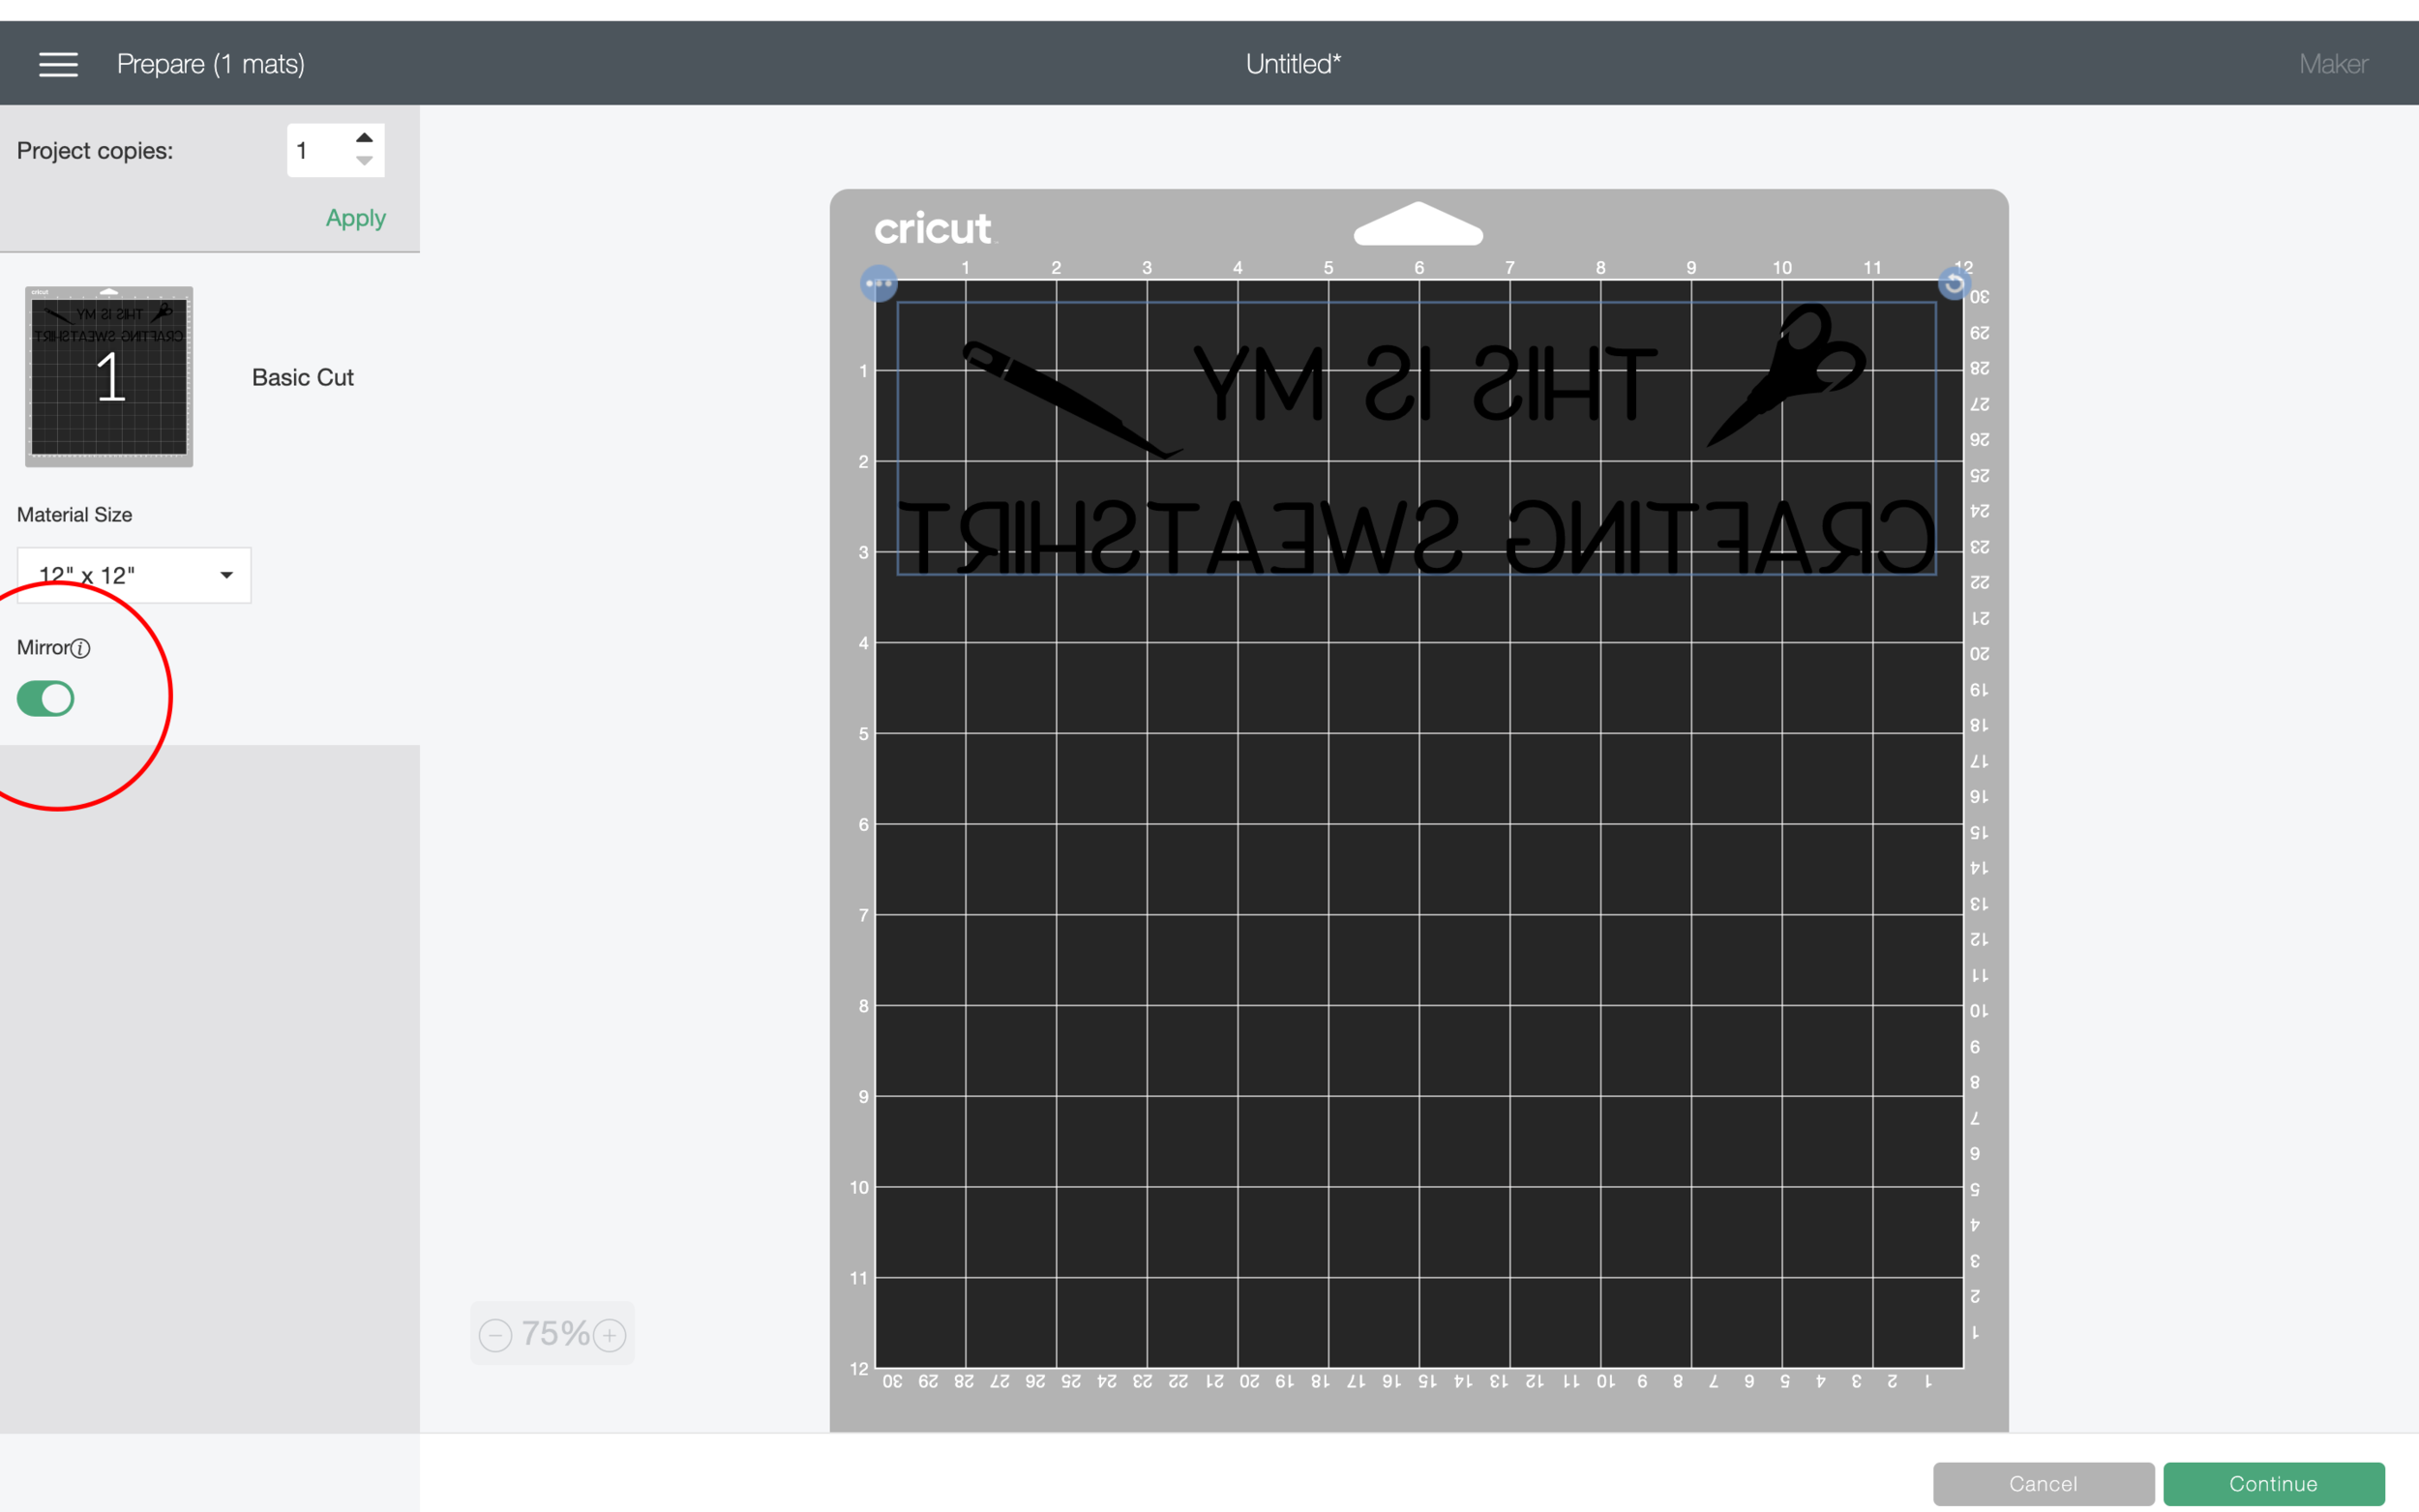
STEP 2: Send The Design to Your Cricut
For iron-on designs, always remember to mirror your image.
Select your material setting (I used Everyday Iron-On Vinyl) and place your vinyl shiny side down on your cutting mat.
Load your cutting mat into the Cricut and press Go!
STEP 3: Weed Your Design
With the shiny side still facing down, carefully remove the excess pieces of vinyl so that only the words remain. You can do this with your fingers or a weeding tool. I am using Poli-Tape Tubitherm Flock vinyl, which is a felt-like material and so so cool!

STEP 4: Iron On The Vinyl
Once you have weeded all of the excess vinyl, it’s time to iron it on to the sweatshirt.
For this project, I used the heat setting 320º for 30 seconds. A full Cricut Heat Guide can be found here.

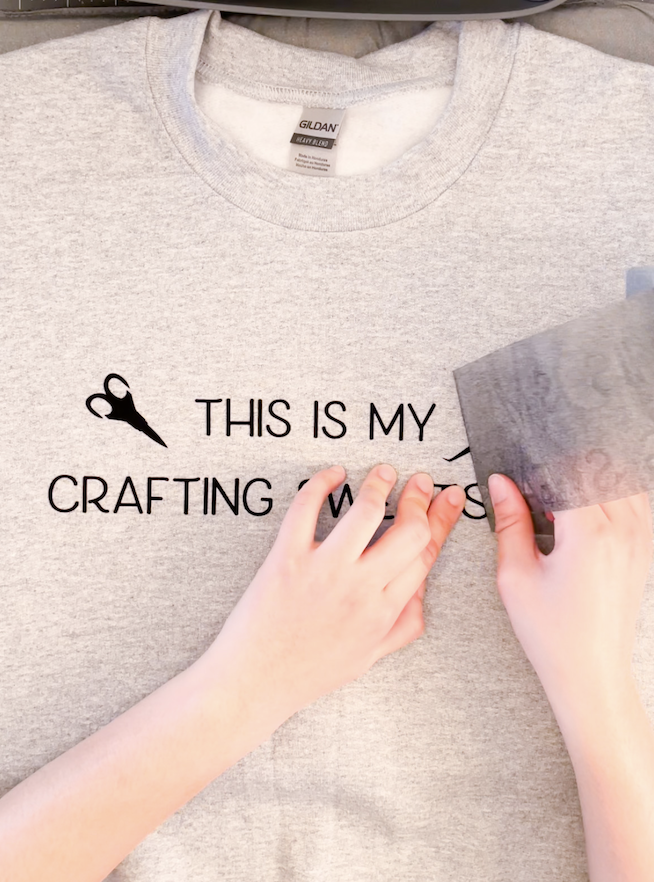
STEP 4: Remove Top Liner
When your vinyl is fully transferred to the sweatshirt, it’s time to peel away the top liner. Carefully remove it with your hands, making sure that the vinyl is sticking completely to the sweatshirt.
Thanks for following along for this tutorial! I hope you learned something and make a sweatshirt for yourself!
This page contains affiliate links.